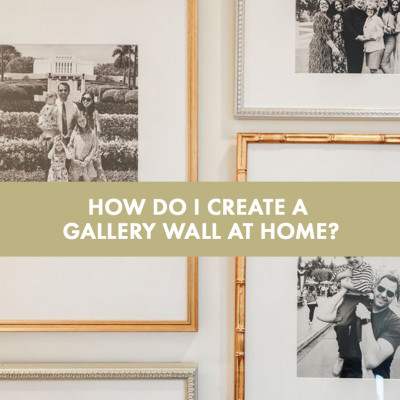
How do I create a gallery wall at home?
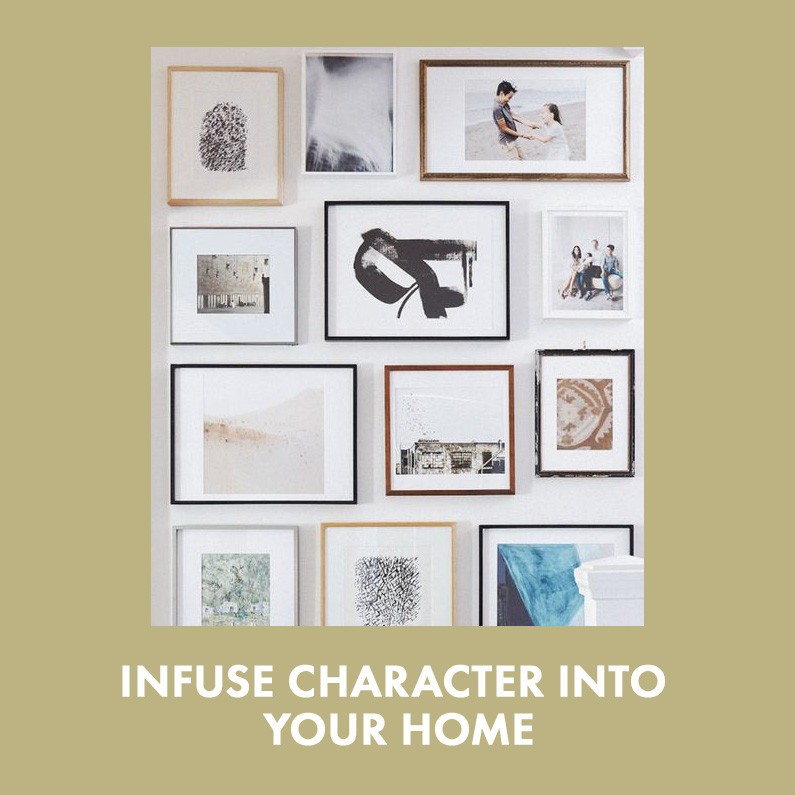
Gallery walls are one of the best ways to display a large art or photo collection while transforming an empty wall, and creating one in your home is actually fairly simple. It can seem daunting trying to decide which artworks to display together and in what frames, not to mention figuring out the arrangement of the frames. In this article, we've broken down the process of creating a gallery wall, so that you too can curate a display to create a stunning focal point and infuse character into your living space.
Gathering Art and Photos for Your Gallery Wall
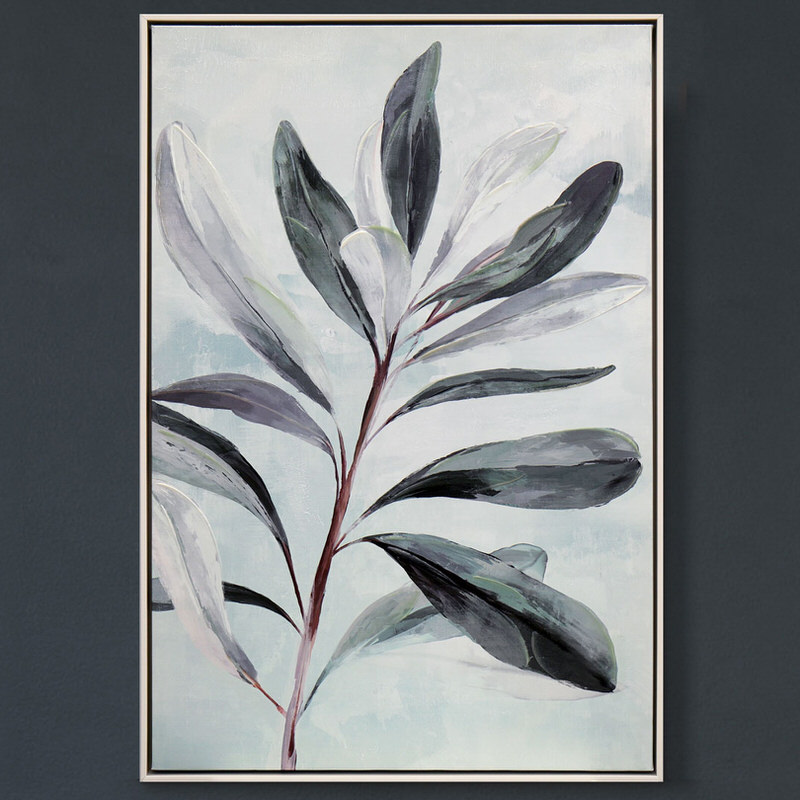
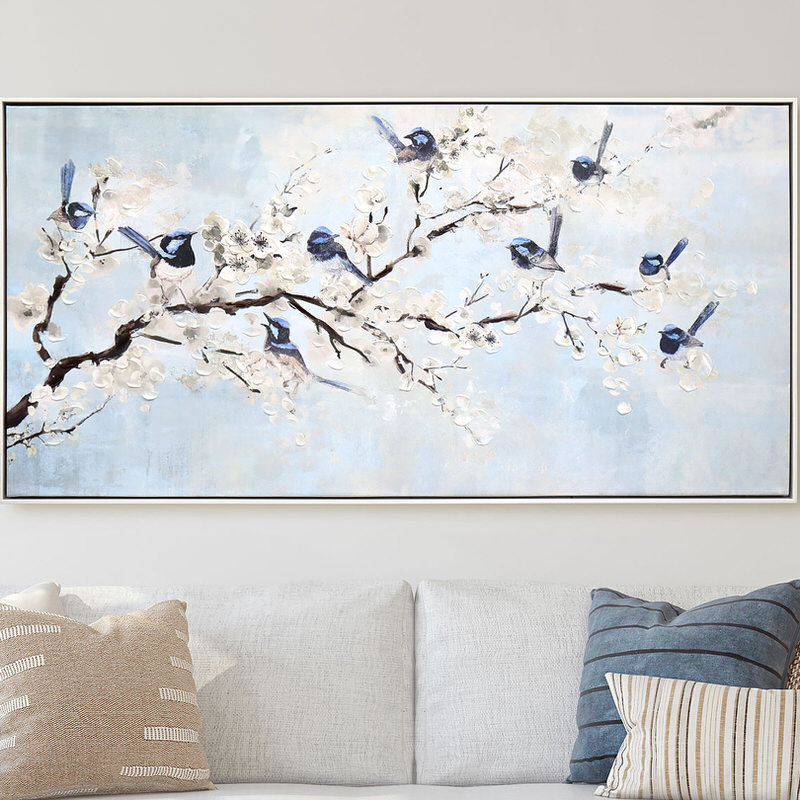
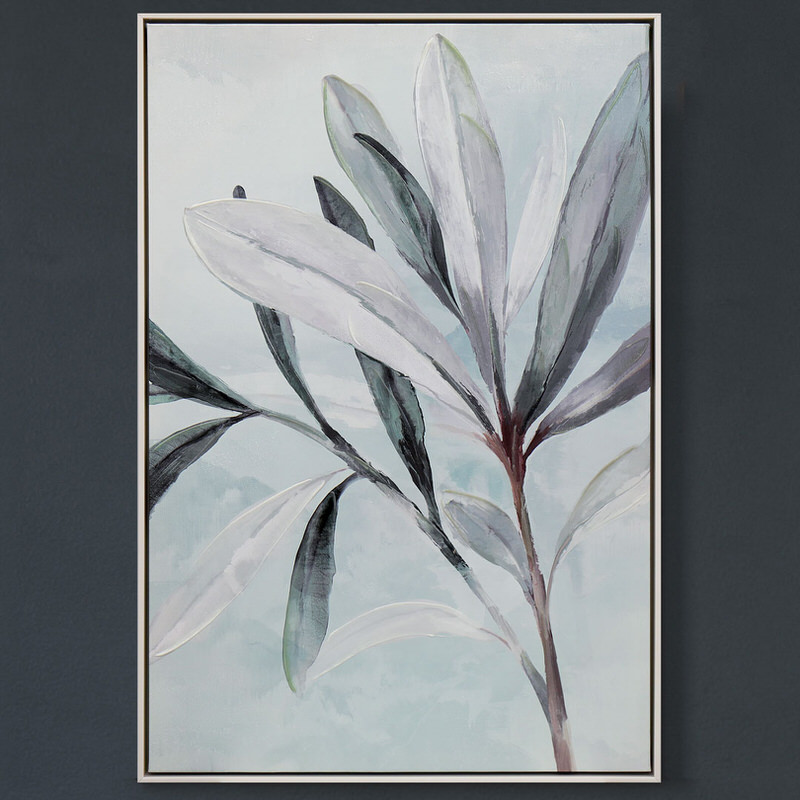
The first step in creating your own gallery wall is gathering the art and photos you wish to display. Perhaps you already have a number of artworks you have collected over the years that have been gathering dust, or you would like to buy all new pieces for your art wall. Some general considerations to make are the colour palette and style of the artworks you have. If you would like to create a cohesive look, choose artworks that follow a specific colour palette or style, especially if they match the tone of the room. If you would like a mix of colours and styles, make sure that each art pieces shares its style or colour palette with at least one or two other artworks on the gallery wall. Alternatively, pick a theme you would like your artwork to follow, like beach imagery or black and white sketches. To add some of your own personality to your gallery wall, incorporate photos or framed trinkets and souvenirs. Of course, there is nothing wrong with curating an eclectic mix of wall art that doesn't follow a specific theme - if you love it, then that's what matters. A variety of art and photos gives the wall depth and ensures no piece outshines another.
A gallery wall doesn't need to be made of artworks, they are also a great way to display a collection of photos, such as family photos. Choose a mix of posed and candid shots to add character and an authentic vibe. A gallery wall can consist of all sorts of photos - wedding photos, polaroids, photos from travels, family and school photos, and even photos that remind you of specific happy moments. If you would like your photo wall to have a more refined feel, choose photos that follow a similar colour palette - whether black and white, warm sunlit scenes, or those with a muted background.
Things to Consider Before You Begin Hanging
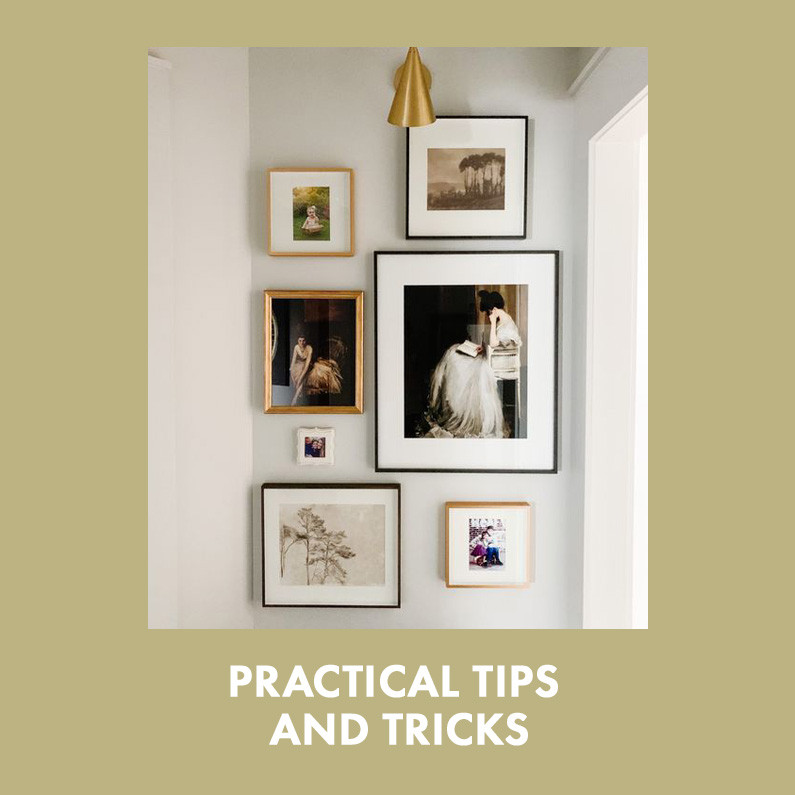
Before you get too eager and start hammering into the wall right away, there are some important considerations that need to be made. Firstly, measure the wall you are hanging your art or photos on to ensure that all the pieces will fit. Make sure that the pieces won't be jammed together, as it is best to leave at least five centimetres of space between artworks, and at least fifteen centimetres between art and furniture pieces.
Next, select the frames you will be using. Choose a range of different shapes and materials to give your art wall personality, as well as increasing visual interest and depth. If you would like to create a carefully curated, more distinguished look, select frames of the same materials, but of different shapes, sizes, and widths. Opt for frames that are a similar colour as the wall for a seamlessly integrated feel, or choose frames that stand out to make a bold statement.
The final step before you are ready to hang is to arrange your artworks on the floor to test the layout. Make sure they are in their frames when you lay them out. Try to keep the spacing between frames somewhat even, although it is okay if it isn't perfectly consistent. Some negative space is okay, but any blank space that stands out too much should be filled with a smaller decor piece, such as a wall hanging or sculpture.
How to Arrange Your Gallery Wall
The best place to start when arranging your gallery wall is with the largest piece. This will anchor the display, and so should be positioned slightly off centre to create a central focus without drawing the eye away from the other artworks. Next, place the second largest piece. If the wall you are decorating is very large, this piece should be placed separately from the largest artwork. If the wall is smaller, place the second artwork diagonally from the first. Once you have positioned these, fill in the gaps around with the rest of the art or photos. Try to spread out images that have similar colours, sizes or styles. Be sure to create an even spread of horizontals and verticals. Try filling in any noticeable gaps with three dimensional objects such as a sconce, sculpture, or wall hanging. Your gallery wall doesn't have to be symmetrical, but it is important for it to be visually balanced.
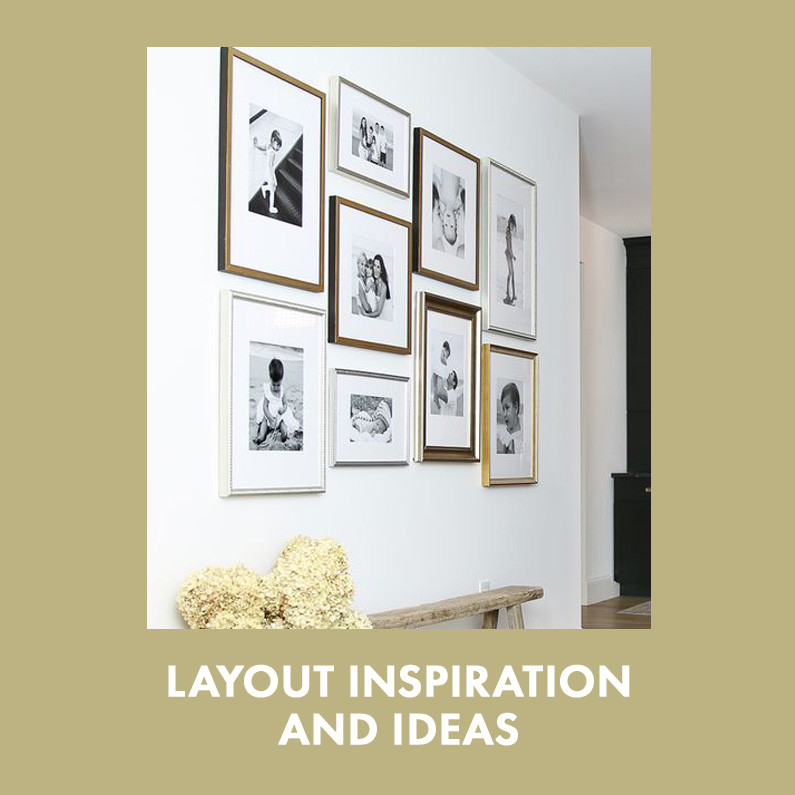
Layout Inspiration
If you are really stuck on deciding the layout of your art wall, or would like something a bit different, here are 7 great ideas.
- Arrange the artworks in a rough pyramid, peaking in the middle and shorter on either side.
- If you have photos or prints of identical sizes, try laying them in a grid.
- Place the largest artwork centrally and arrange the other pieces either side of it to create symmetry.
- Position the largest artwork in the middle of the wall, and display small photos or artworks in a spiral or circle around it.
- Create a "staircase" by positioning the artworks in a wide diagonal stripe.
- If you have four similarly sized artworks or photos, arrange them in a windmill shape by offsetting them around a central point.
- For a balanced display, ensure the edges of the frames line up inside a large rectangle, rather than the gallery wall having an uneven border.
By following these design tips, you too can create a stunning gallery wall in your own home that you will love. Whether you are finally getting around to displaying your personal art collection, or you want to showcase your favourite family photos, a gallery wall is perfect for making a visual impact and injecting your unique personality into a space. To find gorgeous frames to start creating your own gallery wall, discover French Knot's range of Photo and Picture Frames, for more style inspiration.